Tutorial: Vaporwave VHS effect using GIMP
12 September ’20
After a while searching for a good vaporwave effect, I ended up deciding to do it myself using GIMP.
Before we start, I suggest you get in the mood:
Some classic vaporwave
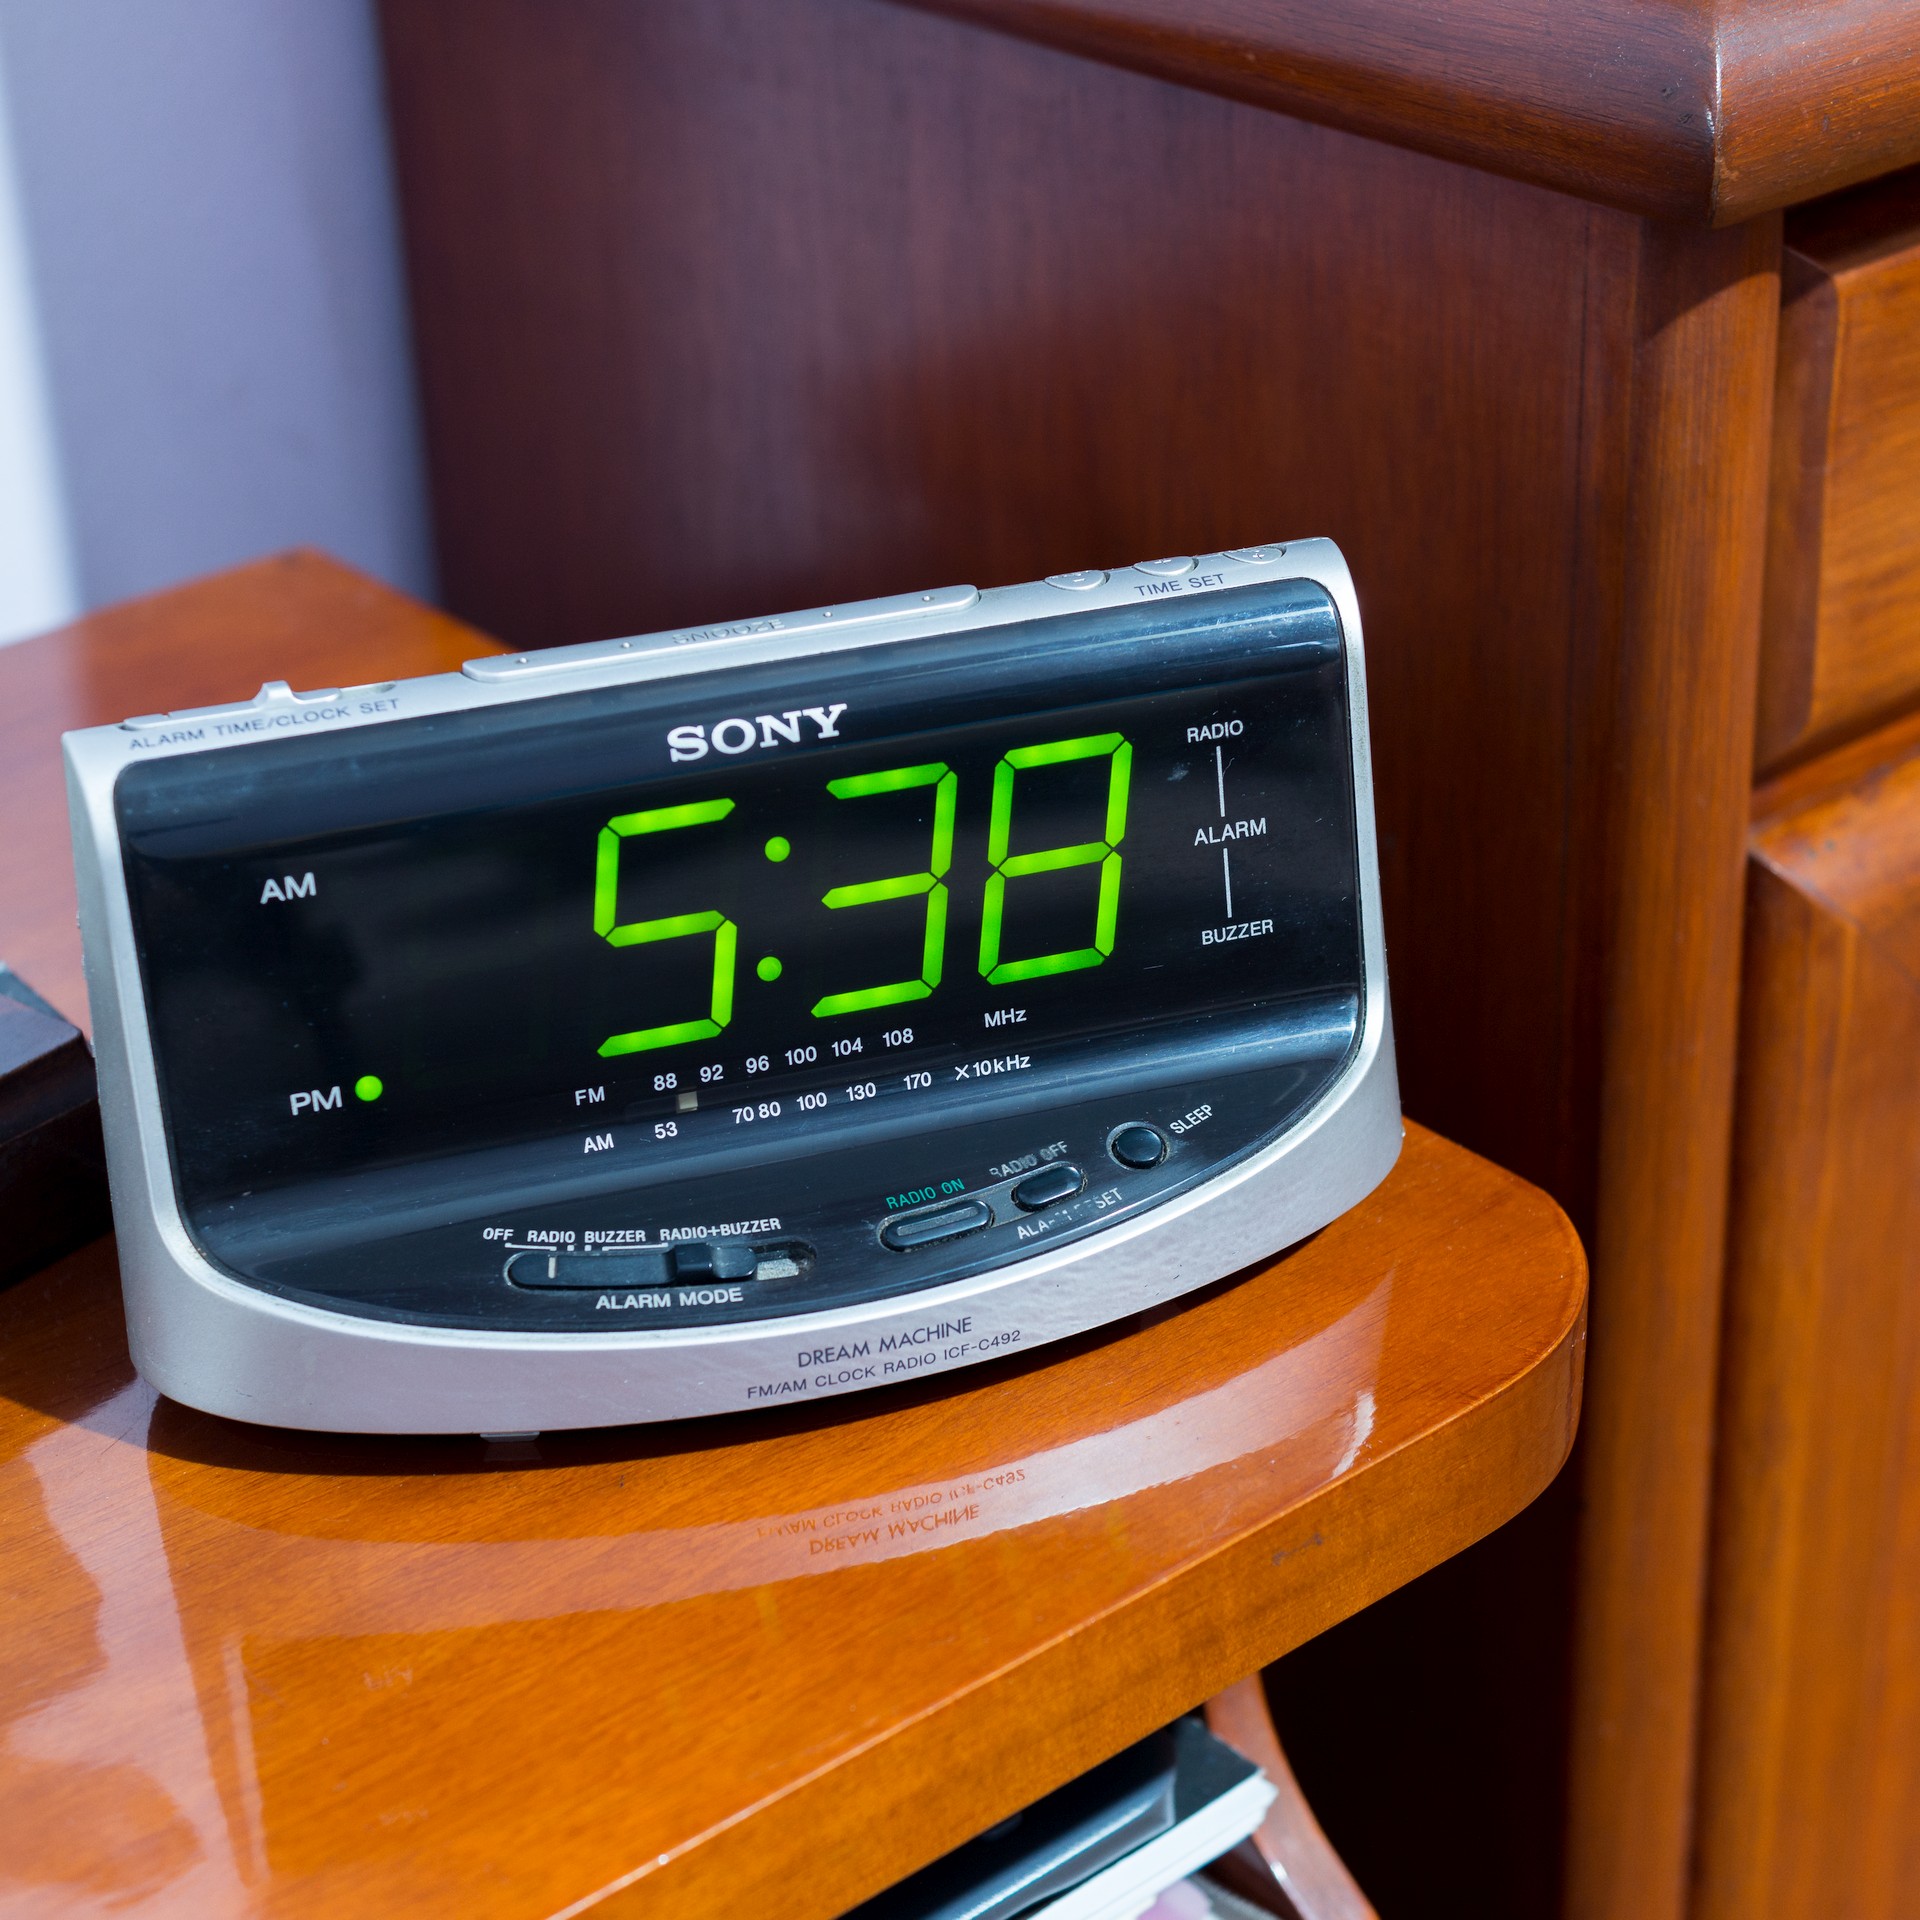
Here’s our starting image (photography by yours truly):
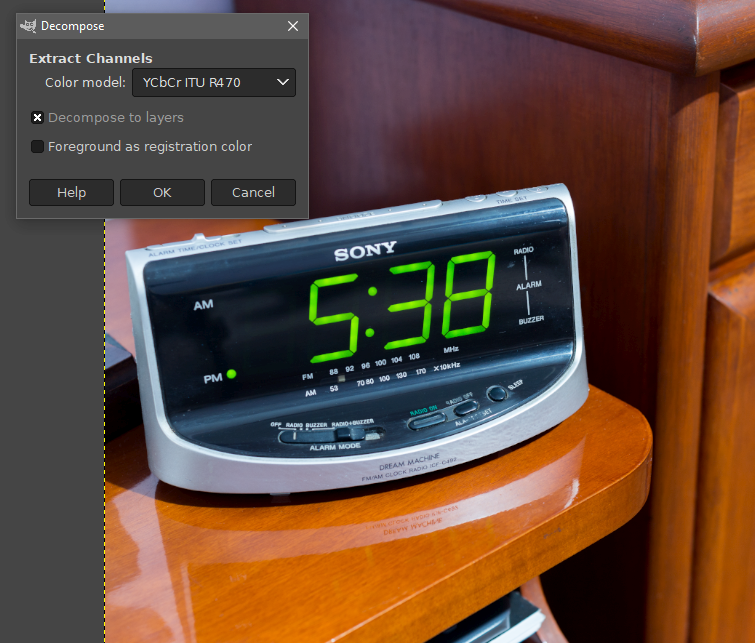
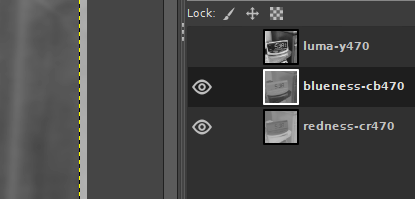
Our first step will be to decompose the image into the YCbCr color space, which is how video is actually stored (analogically) on an actual VHS tape. We will need to process each channel separately to achieve an authentic effect.
Colors > Components > Decompose…
Next, we add a bit of noise to the luma channel only. It will be smoothed out later.
Filters > Noise > RGB Noise…
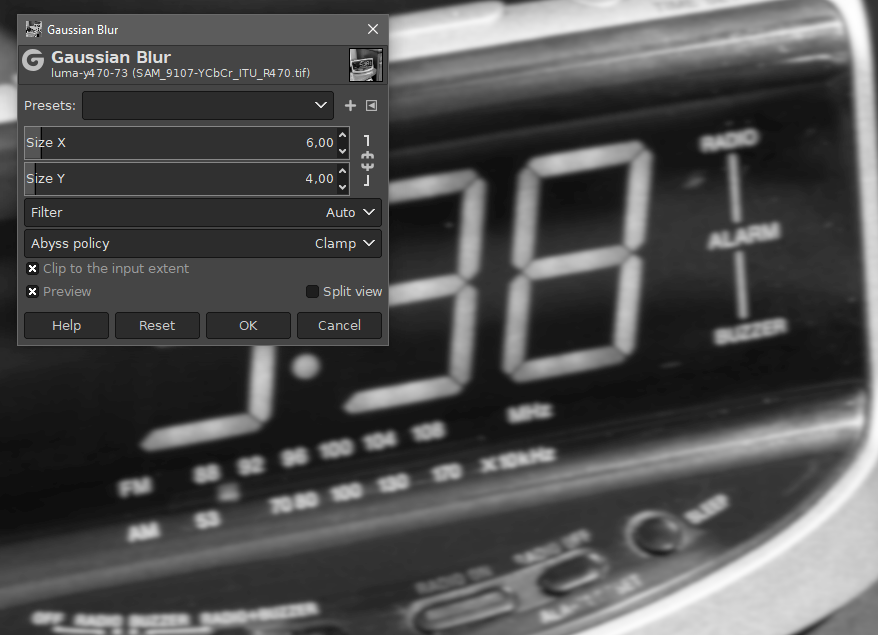
After that, it’s time for good ol’ gaussian blur on the luma channel. Take note of the values, they will be different later on for the chroma channels due to the effect of chroma subsampling in actual VHS.
Filters > Blur > Gaussian Blur…
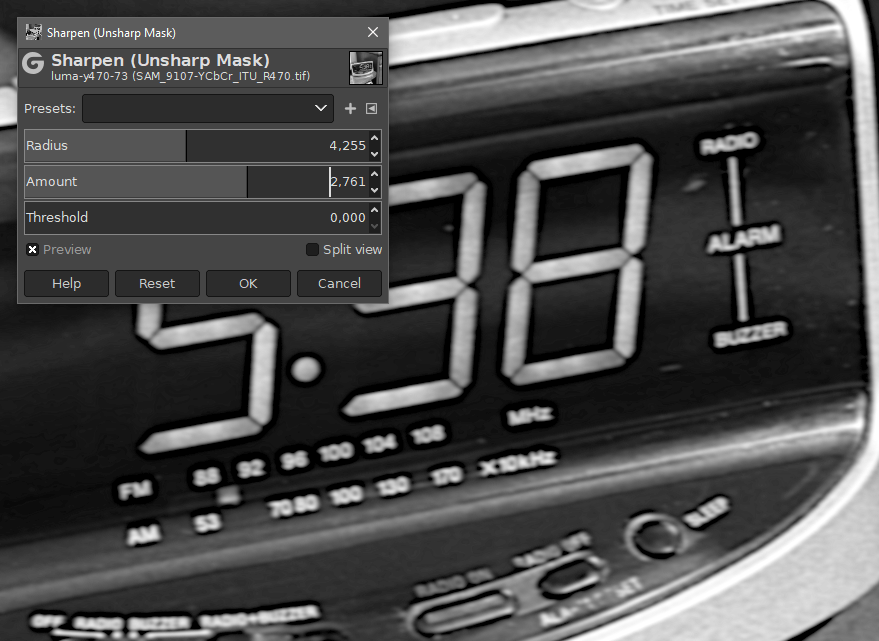
It’s time for the unsharp mask (a.k.a. sharpening). Turns out VCRs add some rudimentary sharpening to the luma channel to attempt to alleviate some of the blurriness. It introduces the halo effects we are used to seeing in VHS footage.
Filters > Enhance > Sharpen (Unsharp Mask)…
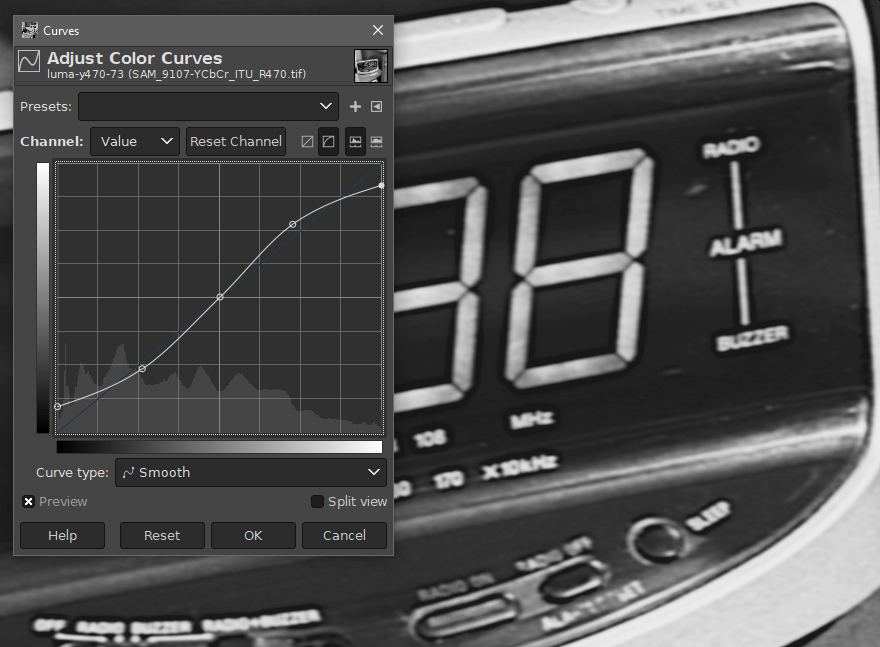
This might be a good opportunity for a bit of a curve adjustment on the luma channel. VHS doesn’t have that great dynamic range, let’s replicate some of that.
Colors > Curves…
Now it’s time to add gaussian blur to both of the color channels. Repeat this process for both the redness and blueness channels.
Filters > Blur > Gaussian Blur…
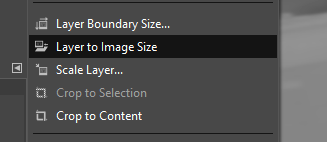
We will shift the blueness channel a bit to the left to reproduce some of the fringing distortion that usually appears during the reconstruction of the signal. It’s similar to purple fringing in photography, albeit with a different cause.
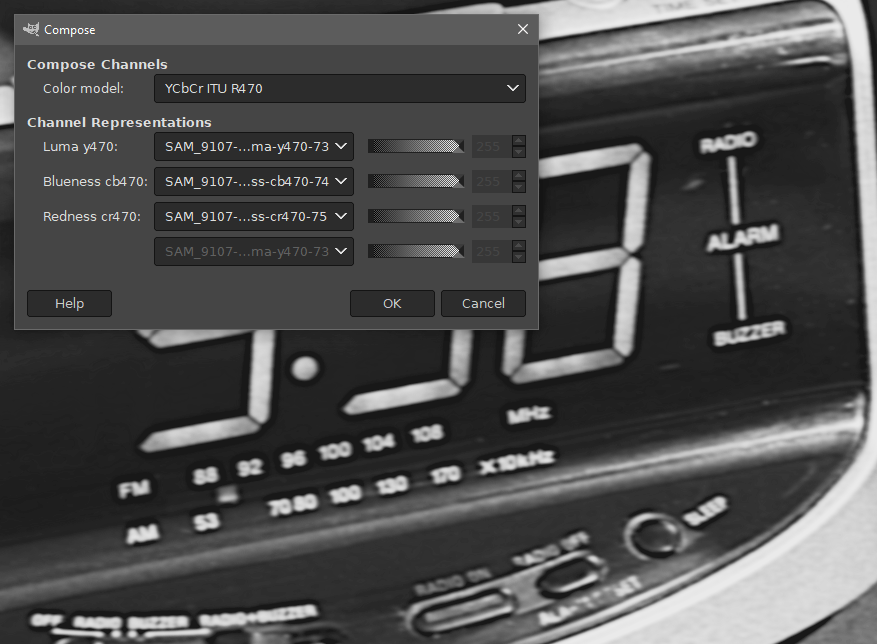
We are ready to recompose the image onto RGB again.
Colors > Components > Compose…
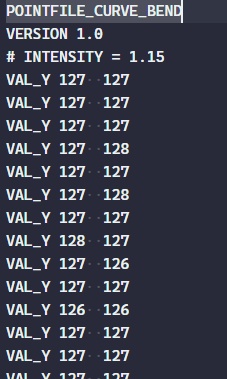
Now comes the overkill programmer part. I have made a Node (or Deno) script, which is available here, to generate a Curve Bend tool .points file. This tool is used to add line distortions to the image, which we will use to mimic VHS tearing caused by tape degradation.
You can run it like this:
$ node vhs.js >> vhs-curve-bend.pointsOr you can just use my .points file if you really can’t be bothered.
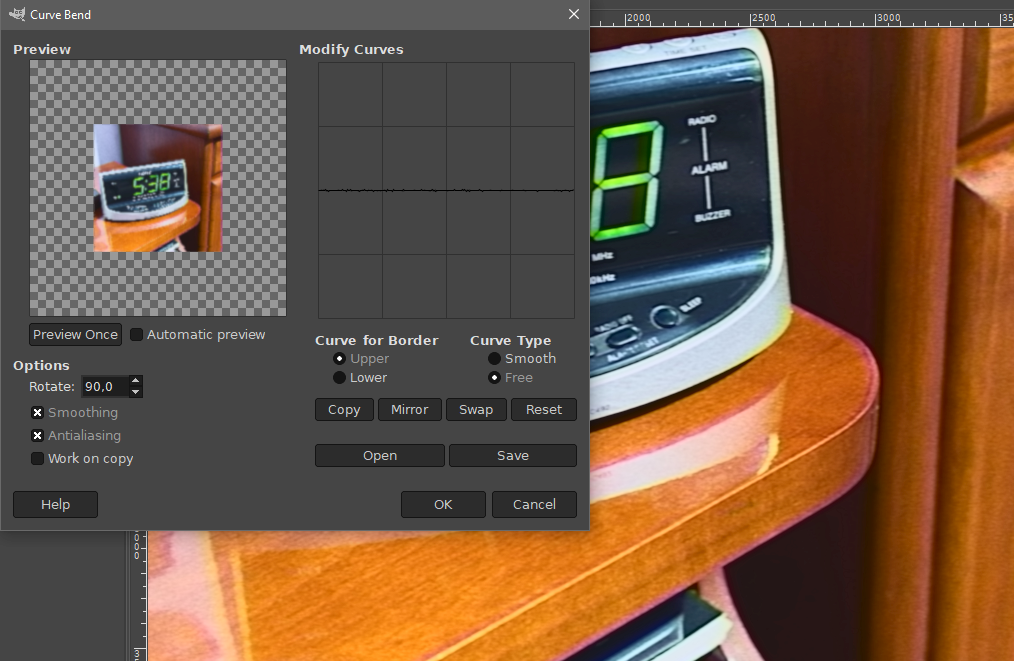
And then you can load it into the Curve Bend tool. Don’t forget to set the “Curve Type” to “Free”.
Filters > Distorts > Curve Bend…
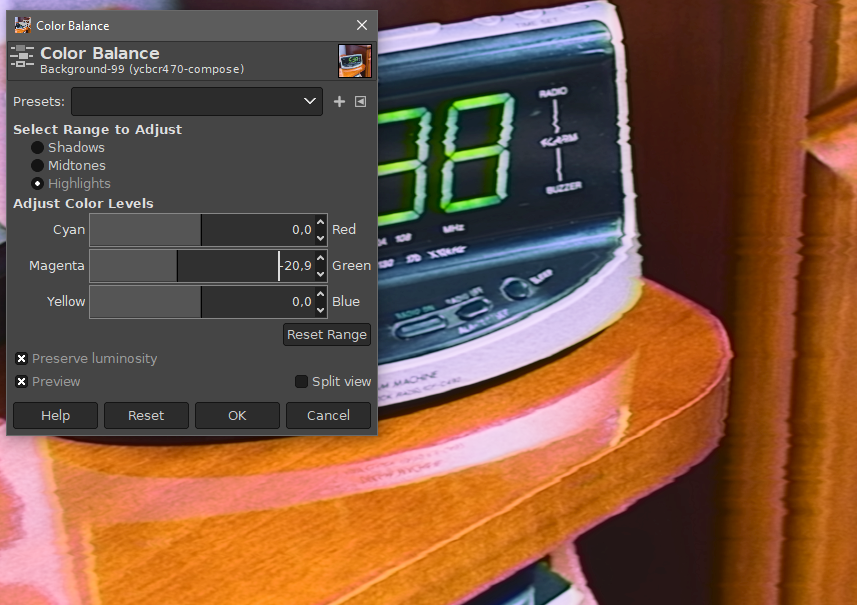
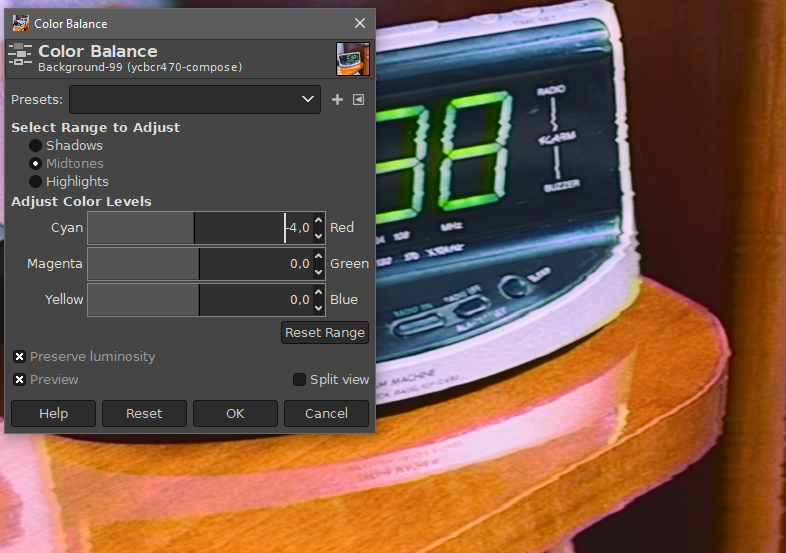
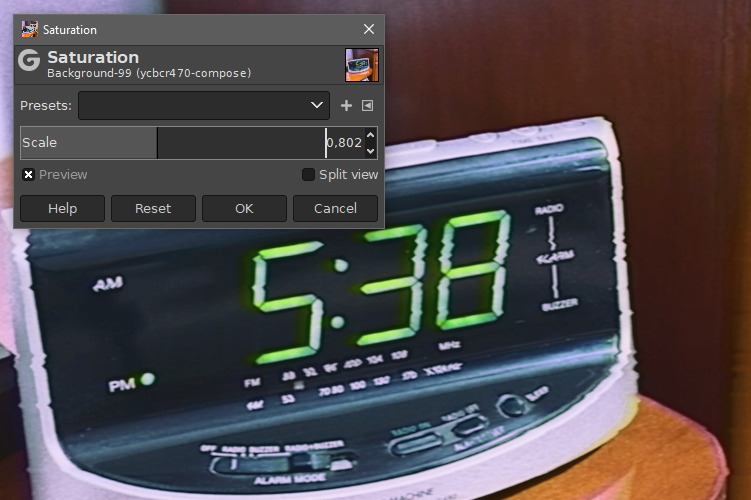
To increase the vaporwave factor we can add a bit of color balance effects and reduce saturation.
Colors > Color Balance…
Colors > Saturation…
And that’s it! Here’s our final result:
For great vaporwave.

